This Guide will lead you through the process of connecting your Macbook to an available Wireless Network.
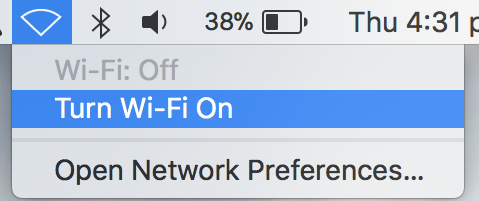
1. Turn your Wi-Fi On (click the wireless icon at the top-right of the screen and select ‘Turn Wi-Fi On’)
2. When wireless is on, you will notice the wireless antenna, as shown below

3. Click on the wireless antenna and wait a few moments for a list of available networks to populate.
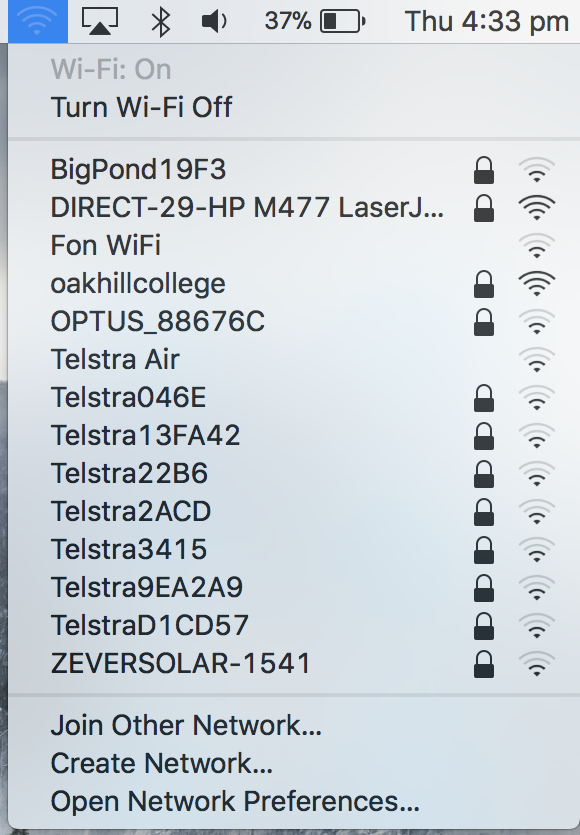
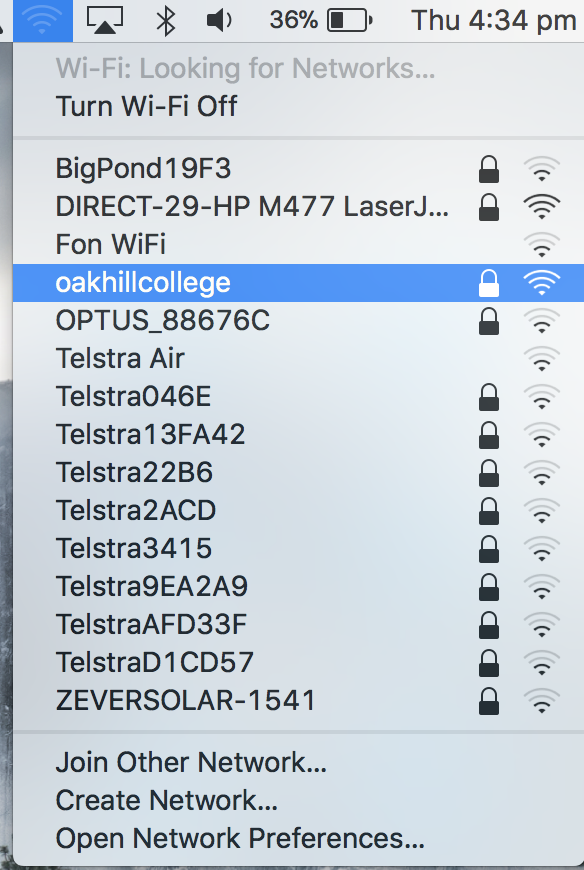
4. From the available list, click to select the required network: in this case, the network with the name ‘oakhillcollege’
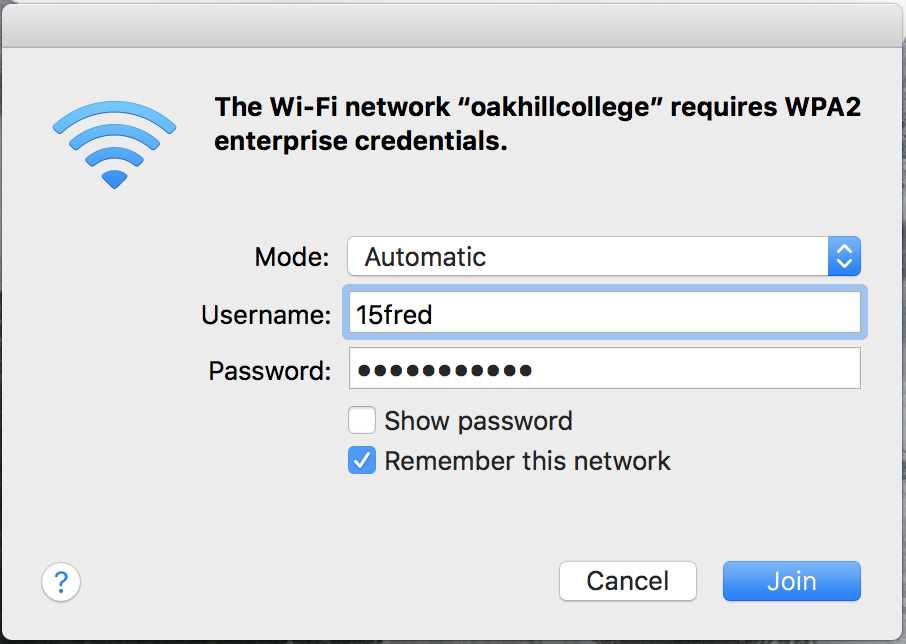
5. For access to the oakhillcollege wireless network you will be required to enter your school username and password (see example below)
6. To confirm that you have successfully logged in and that you are now connected to the selected wireless network, the wireless antenna will change colour from grey (as shown in the screenshot for step 2) to black (as shown below)

You will now be able to begin browsing on your Macbook.
Should you have any issues with this, please email the ICT Helpdesk by using the following link: Email the Helpdesk