This article will lead your through the process of Configuring an Email Signature in Outlook on your Macbook.
1. Search for “Microsoft Outlook” in the Spotlight search in the top right hand corner, as shown below.
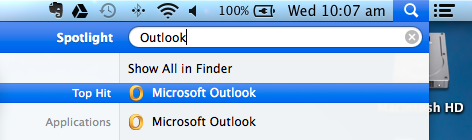
Once your see the above on your screen, click on the Microsoft Outlook application.
2. When your Outlook has completed loading, open a new email by clicking on the “Email” button highlighted below.

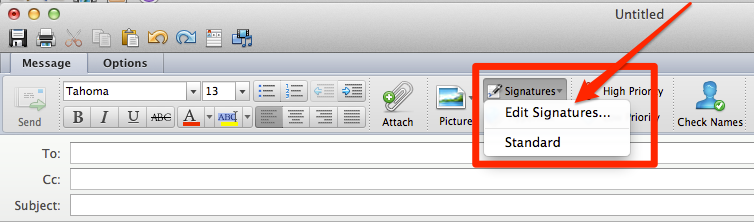
3. Once your New Email window has opened, navigate to “Signatures” in the top menu and Select “Edit Signatures” as shown below.
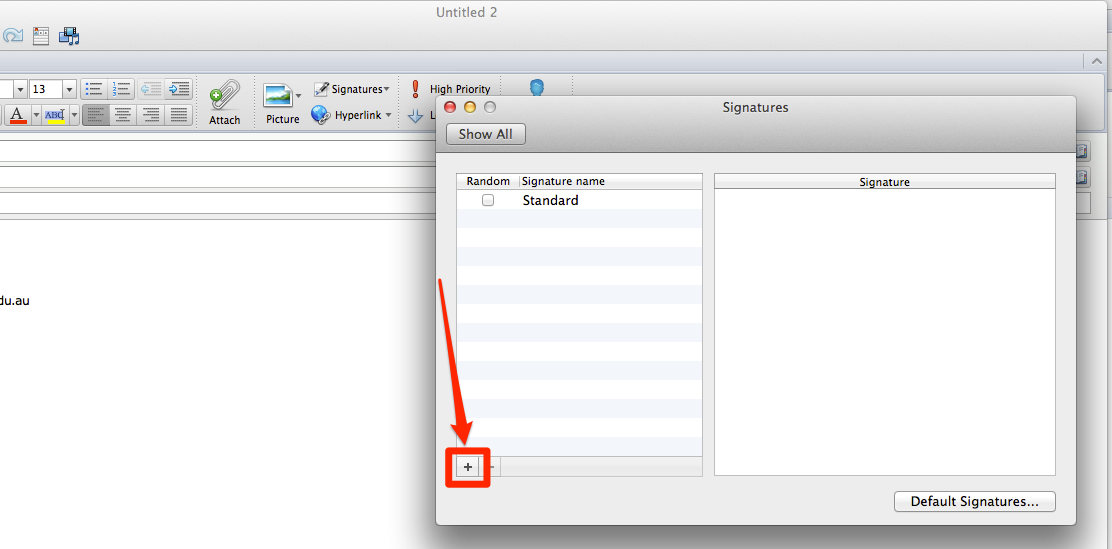
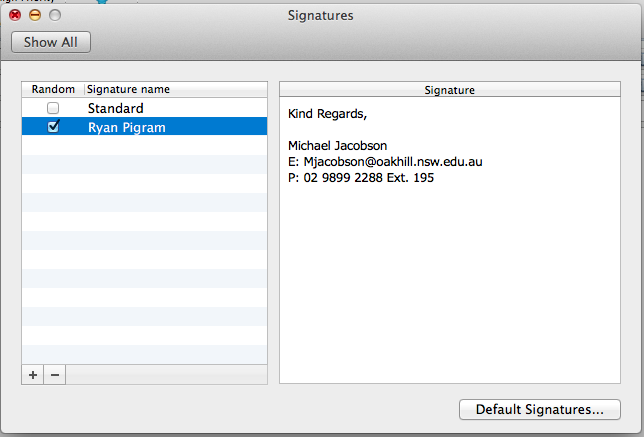
4. A “Signatures” window will now appear and you will need to select “+” to create a new Signature, as highlighted below.
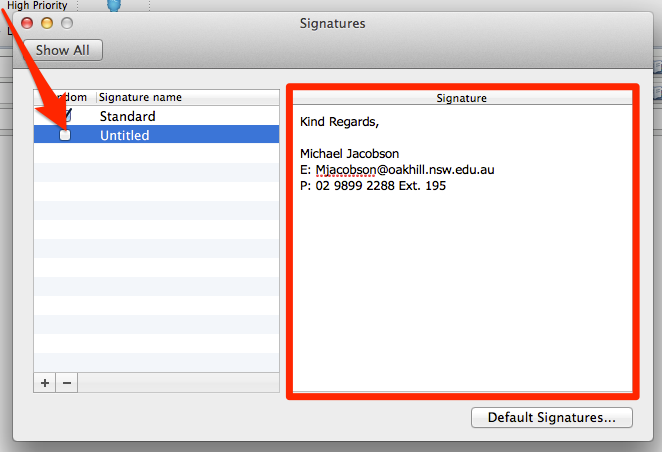
5. You will notice a New Signature called “Untitled” will appear in the list on the Left hand Side. You can now create your signature in the right hand side of the window. As shown below.
6. In order to change the name of your signature from “Untitled” you will need to double click on the “Untitled” and a text box will appear. As shown below.
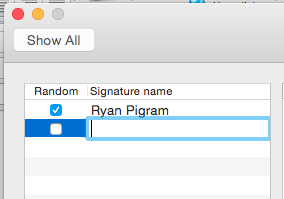
7. Once you have finished naming your signature and have hit “Enter”, you will now notice your Signature Name is what you have named it, as shown below.
You have now successfully created a new signature, and this will appear in the “Signatures” drop down shown in Step 3, below Standard.
Should you have any issues with this, please email the ICT Helpdesk by using the following link: Email the Helpdesk