This guide will lead you through the process of creating an Email Signature in Outlook Webmail.
1. Open your Oakhill Webmail with the following address and Authenticate using your School Username and Password.
outlook.office.com/oakhill.nsw.edu.au
Once you have authenticated successfully and logged in, You will see your Mailbox as per usual. As shown below.
2. Navigate your way to the Top Right hand Corner of the Page where you will see a cog wheel to the Right of your Full Name and Click on this. As Shown Below.
3. A Drop down Menu will appear. Once the Menu appears, Click Options. As Shown below.
4. You will be taken to the “Options” Section of your Account and a Menu will appear on the Left hand side of the Page. Once the Menu appears, Click on the “Settings” option. As shown Below.
5. Once you have successfully entered the “Settings” Page, the first option on your right hand panel, will be “Email Signature”. As shown below.
6. You will be able to create, edit and remove your Signature in the text field. As shown below.
7. Once you have completed your Signature, Scroll Down and Click Save. As shown Below.
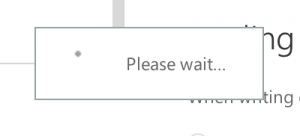
8. Once you click Save, you will see a “Please Wait” window appear, as shown below. Please allow a few minutes for your Signature to Save.
Once the above image has disappeared, your Signature creation is complete.
Should you have any issues with this, please email the ICT Helpdesk by using the following link: Email the Helpdesk


