This guide will lead you through the process of connecting your Windows Laptop to the Oakhill College Wireless Network.
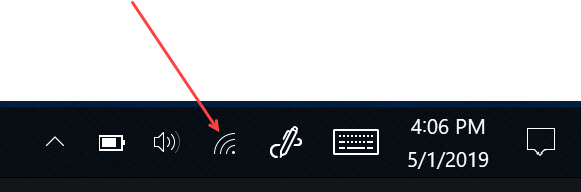
1. Navigate to the bottom right hand corner and click on the wireless icon.
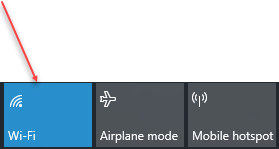
2. Turn your wireless adaptor on, if it is not already ‘On’
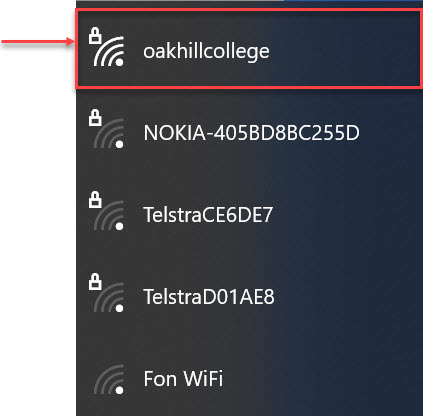
3. With your wireless adaptor switched ‘On’, you will see a list of Available Wireless Networks

4. To connect to the school’s wireless network you would select the name ‘oakhillcollege’. Note at this stage you may be required to provide a Security Key or Username and Password.
For a connection to ‘oakhillcollege’ you would enter your school login credentials (your username and password at school).
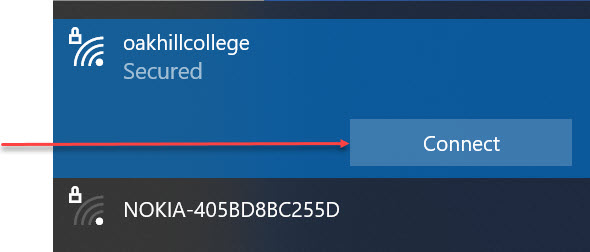
5. Once you have entered your credentials, click ‘Connect’
6. Allow a few seconds for your device to negotiate your credentials with the wireless network

7. Upon successful authentication you will see “Connected” appear below ‘oakhillcollege’.

You will now be able to begin browsing on your Windows Laptop.
Should you have any issues with this, please email the ICT Helpdesk by using the following link: Email the Helpdesk