This article will guide appropriate members of Staff through the process of publishing content using the “Post” method in Oaklife.
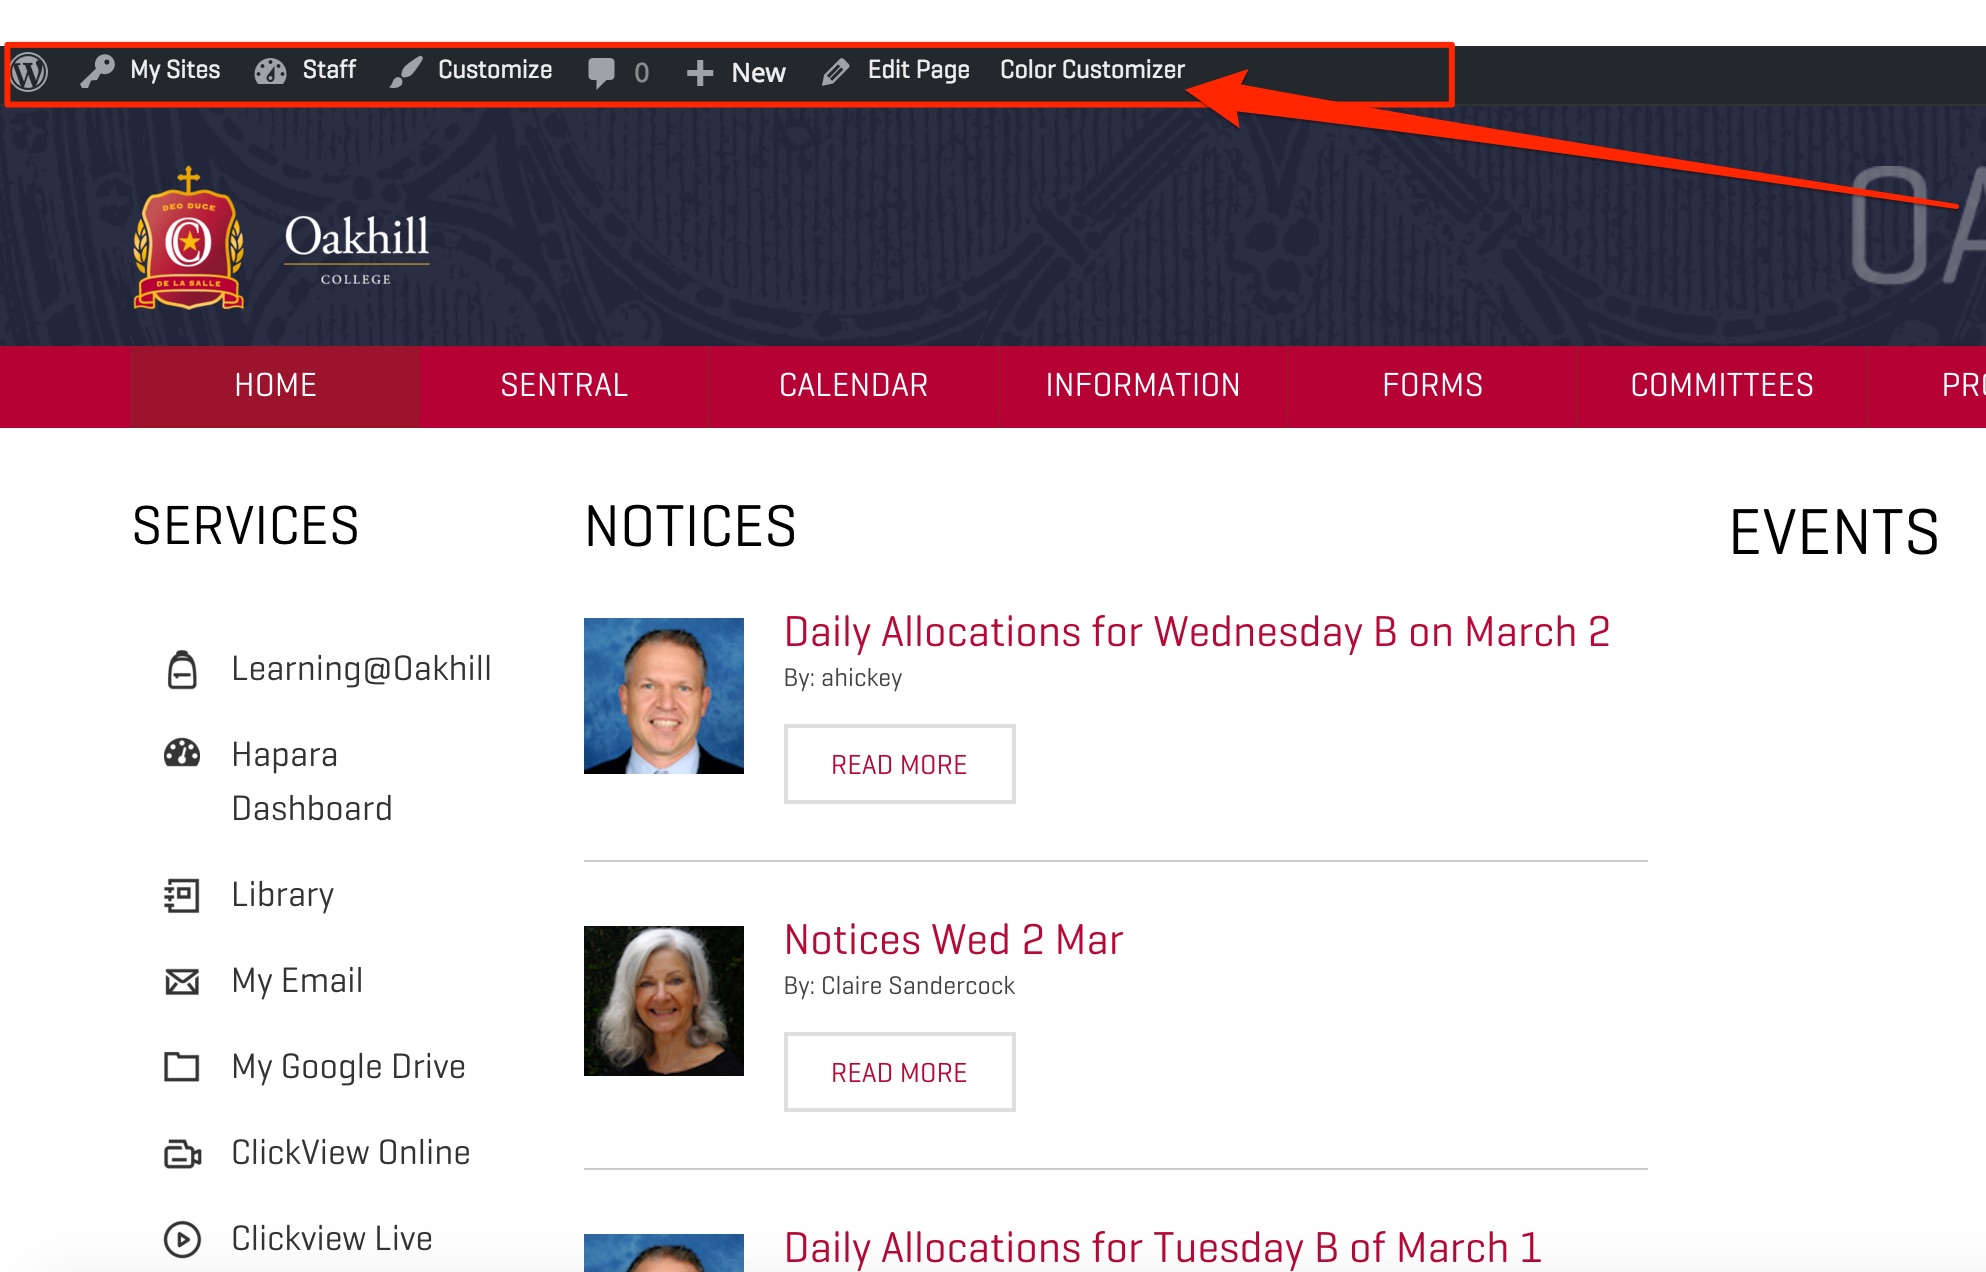
- Once you have successfully logged in, you will notice a grey bar appear at the top of the page, as shown below.

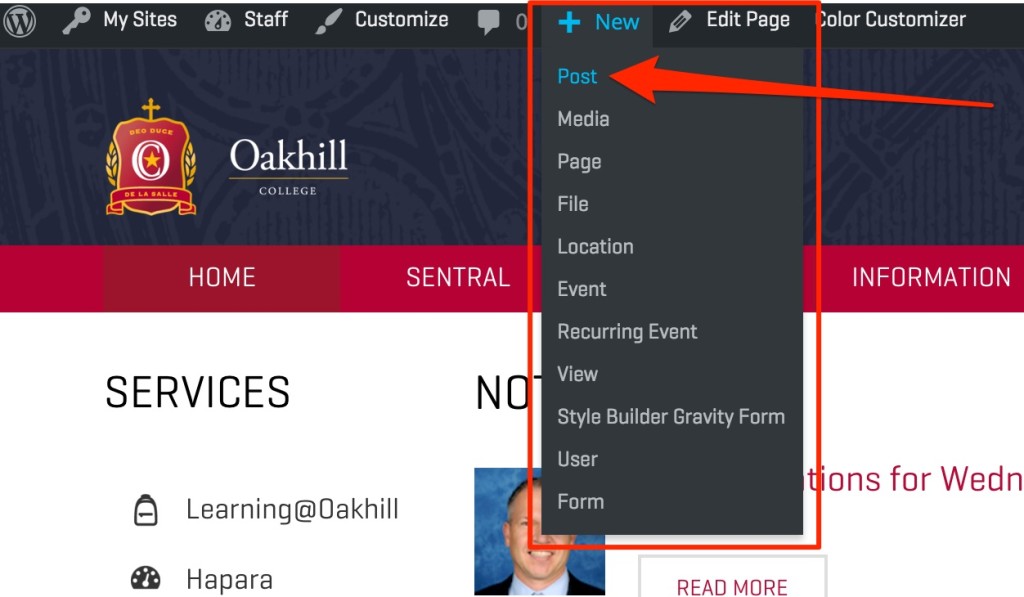
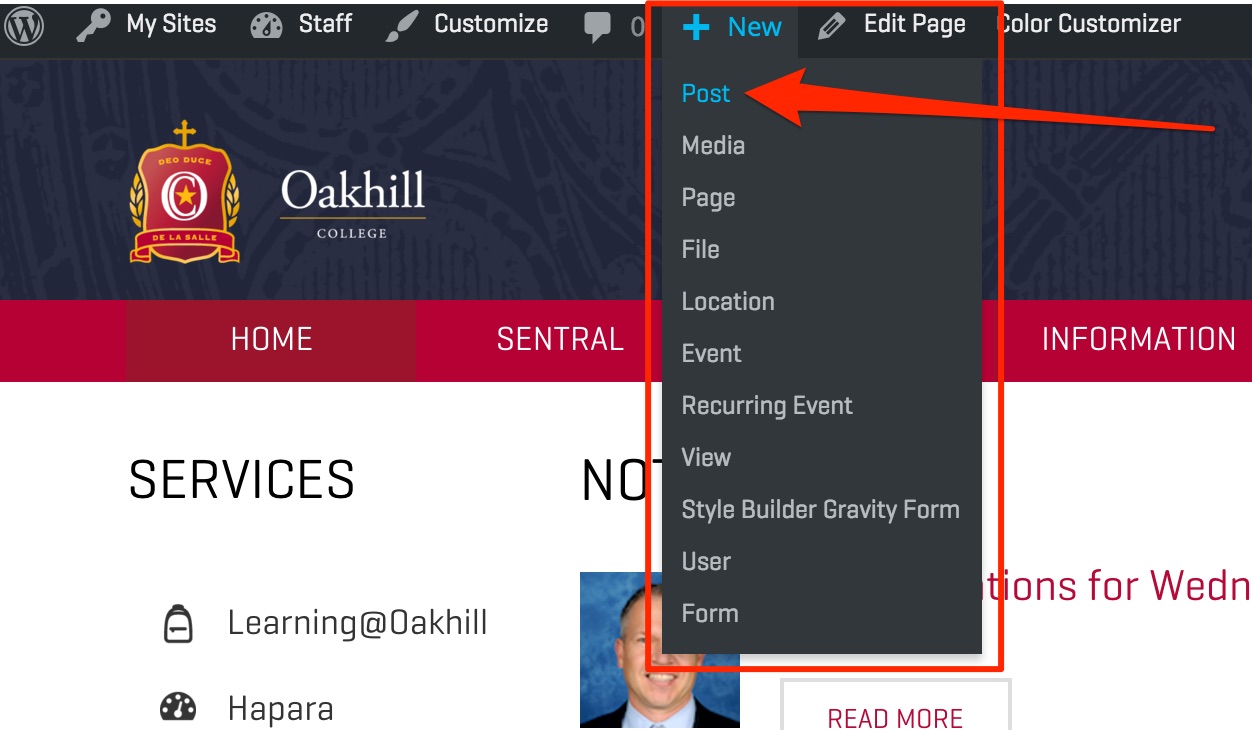
- Assuming your access permissions are correct, you will notice a “+ New” option in the grey bar, shown below. Upon clicking the “+ New” option, you will notice a number of option appear. For the purpose of this exercise, please click post, as highlighted below.
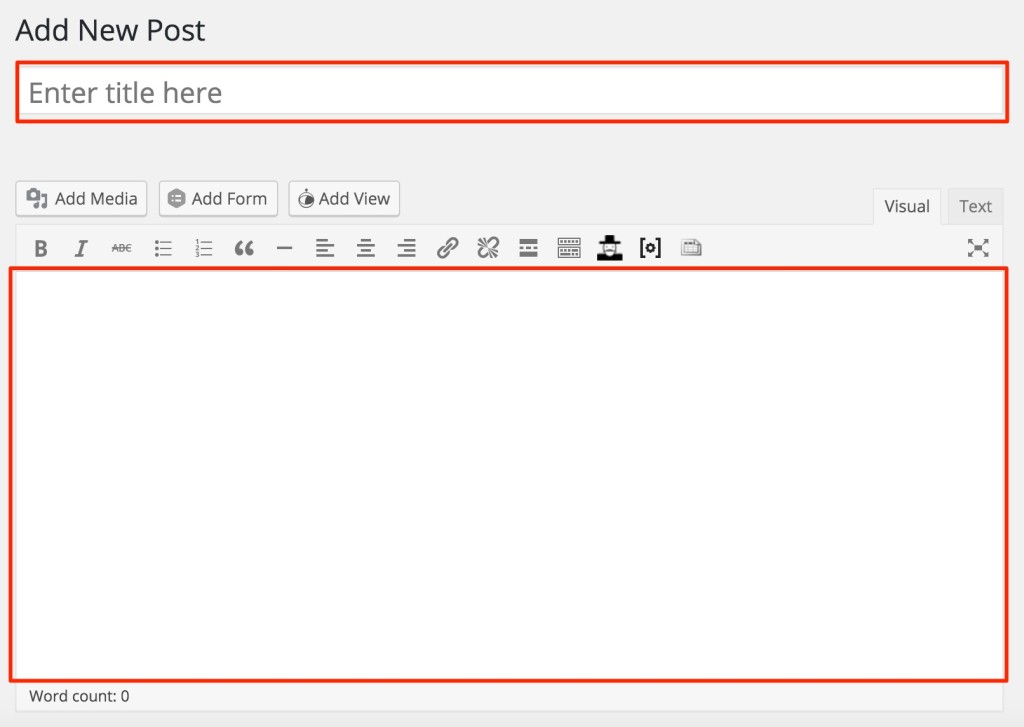
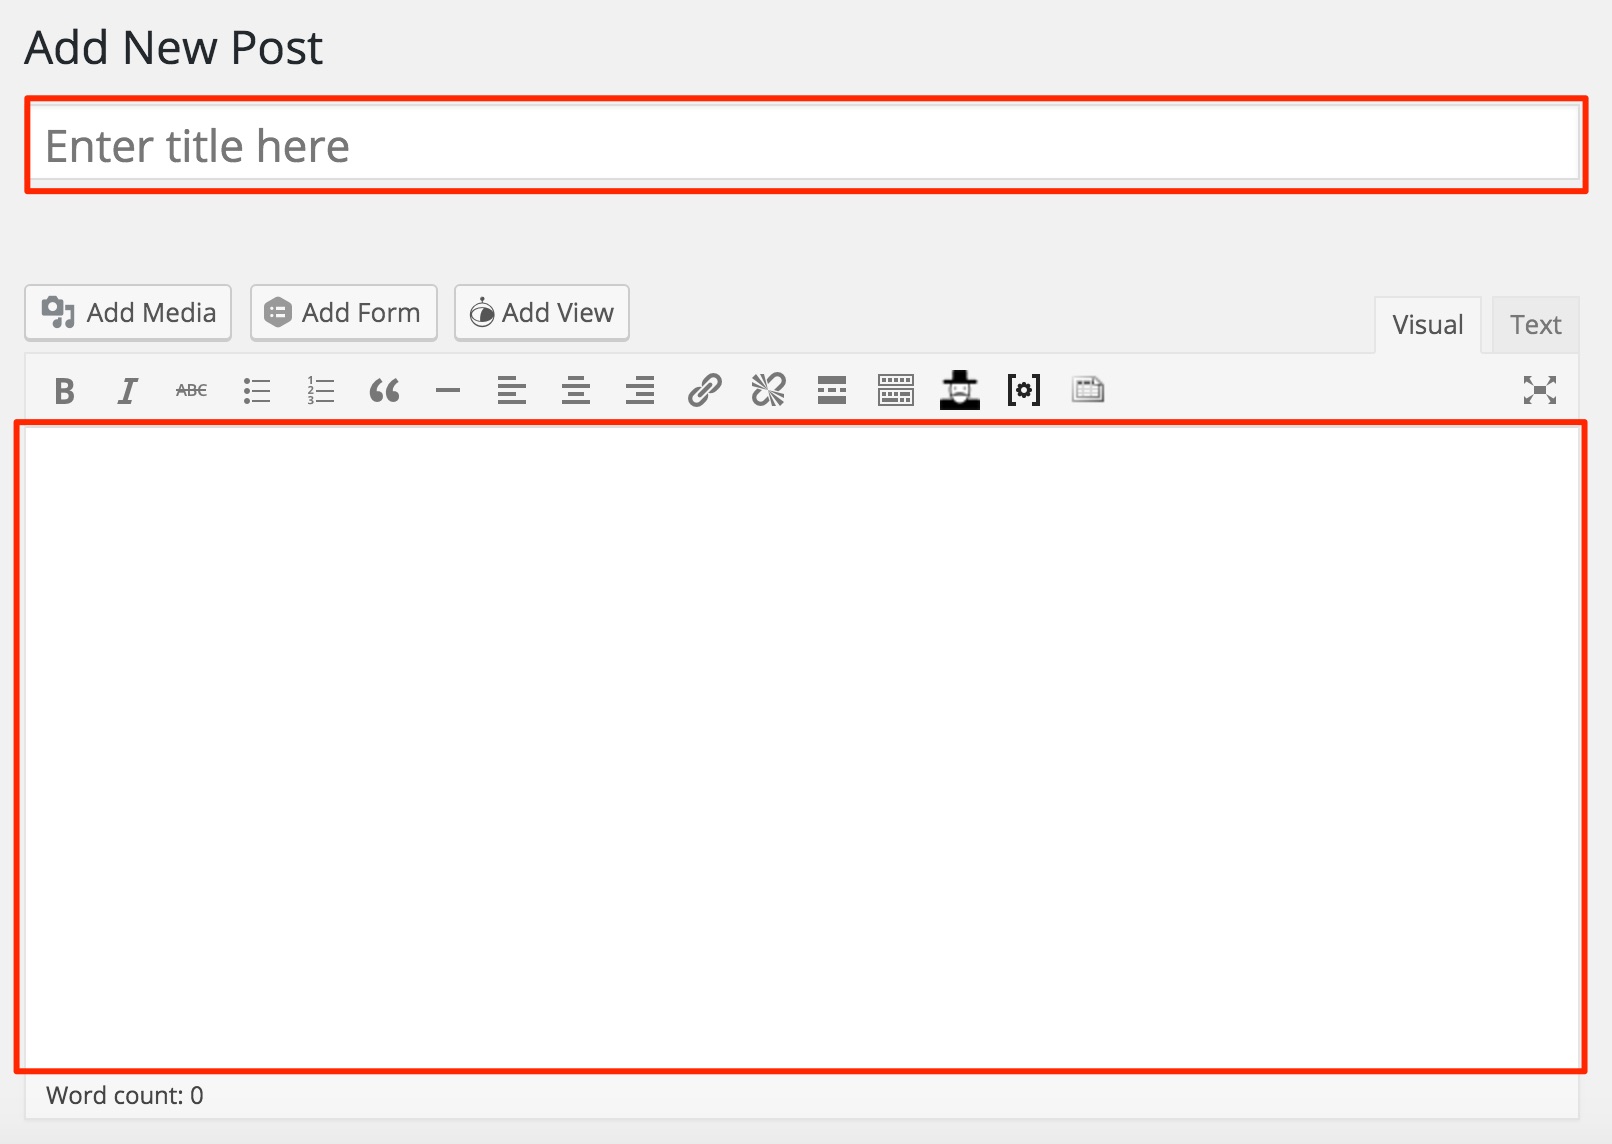
- You will then be taken to the “New Post” page, where you will be able to create and preview your content. Please enter a clear title for your post which will attract your reader’s attention and continue to enter your content as required in the area provided.
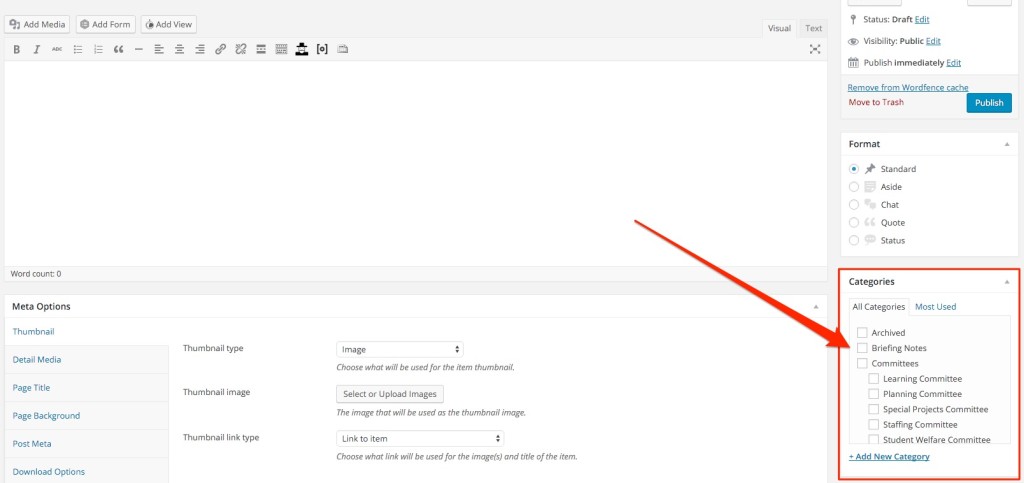
- The next step is the most critical of the posting process. In order for your post to appear in the appropriate location, you will be required to select a post category. Post categories have been structured to automatically appear in the appropriate pages within Oaklife once published. You are able to find the “Post Categories” to the right hand side of the page, highlighted below.
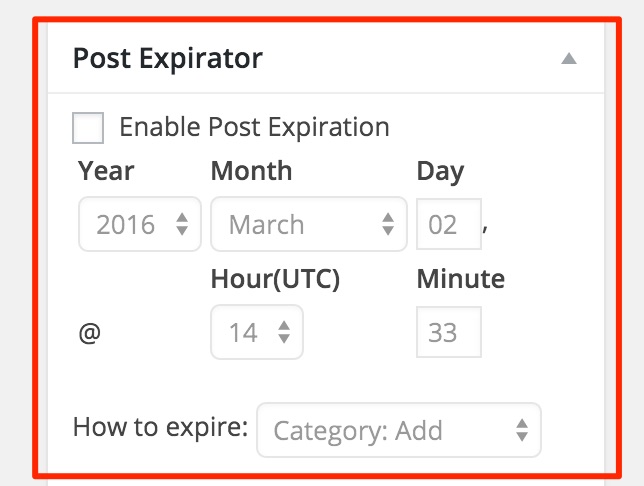
- Beneath the “Categories” box you will find a “Post Expirator” box, shown below. Users are asked to set a post expiry date and time. The recommended expiry is 48 hours unless you wish have your post appear for longer.
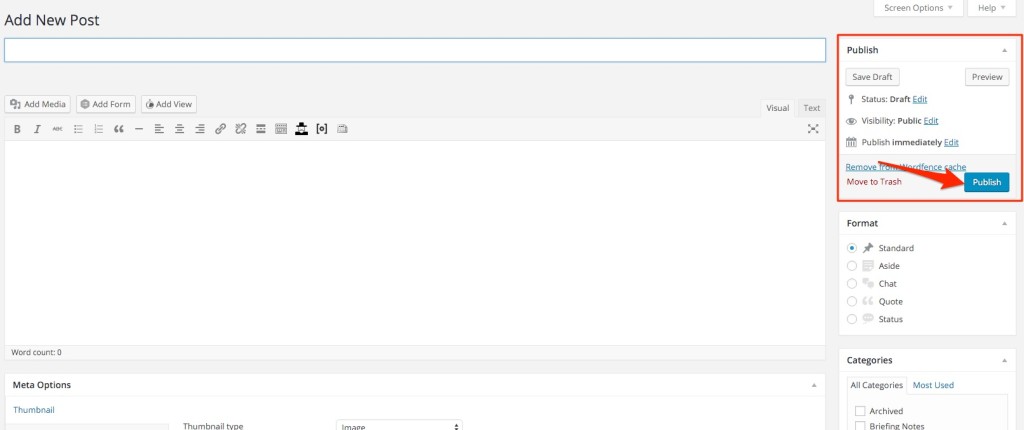
- Once you have completed these steps and your article is ready for publishing, simply scroll back to the top of the page and locate the “Publish” box on the right hand side of the page and click the “Publish” button, as shown below.
- Please check your post is appropriately located where you think it should be. If it is not, please review your selections in Step 4 & 5 and Publish the post again.

Should you have any issues with this, please email the ICT Helpdesk by using the following link: Email the Helpdesk