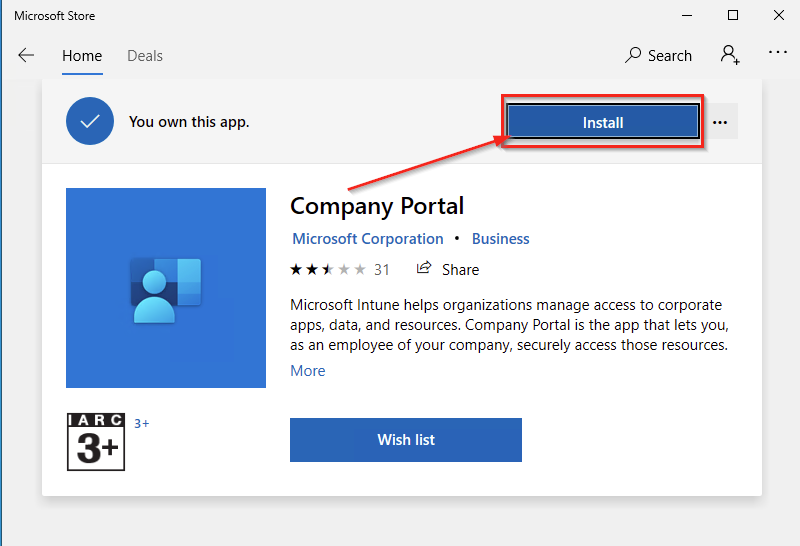
- On a windows device, open the Microsoft Store and Search for “Company Portal”, or click this link to take you straight there.
- Click the Install button to install the application. You may be prompted to sign in with a Microsoft account, but this can be closed/skipped and the app will still download and install.
- Once the download has completed, launch the Company Portal application from the Start Menu.
- You will be prompted to sign in with a Microsoft account. Your student Oakhill account must be used here to sign in.

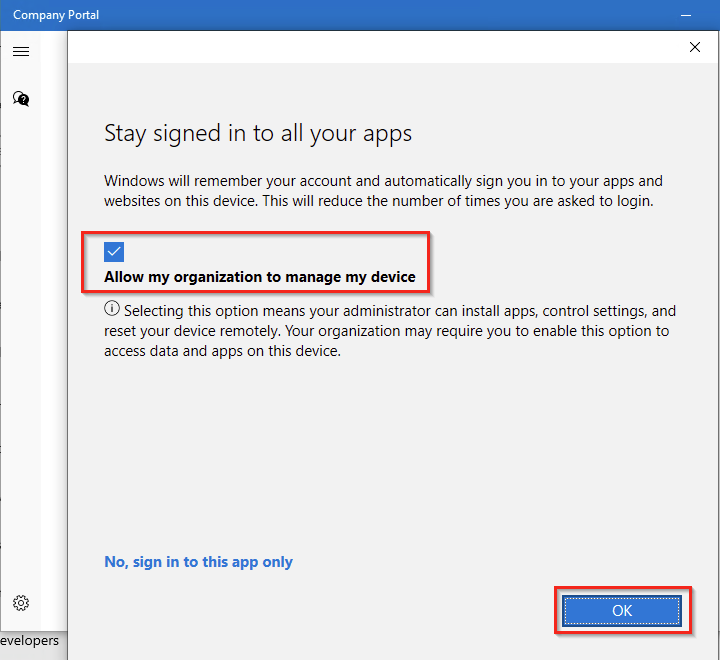
- Ensure the option to Allow my organisation to manage my device is ticked then click OK.
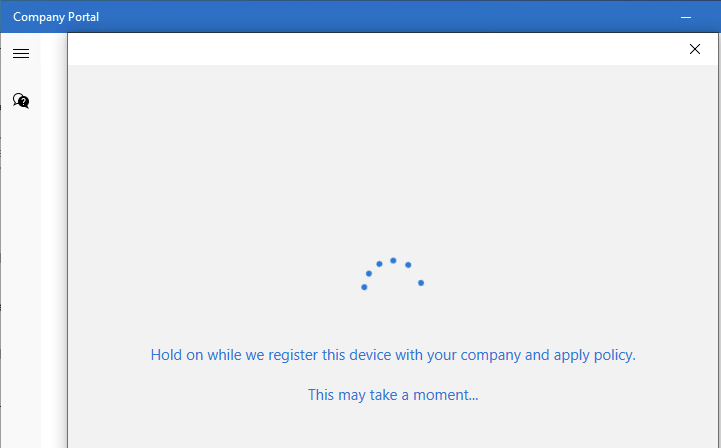
- The device will now be registered into Intune and appropriate policies etc are applied.
- Once completed, you’ll be taken to the Company Policy app which should look similar to this
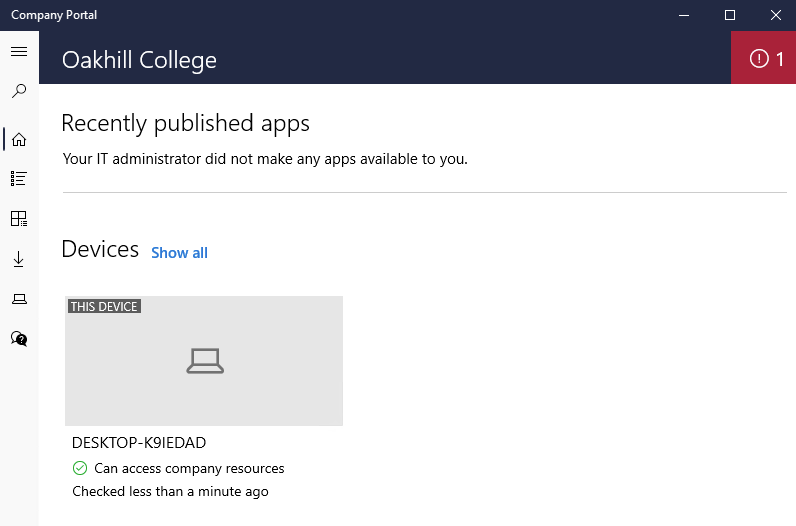
- Nothing further is required after this point, but there are subsequent processes that are automatically triggered after initial enrollment is completed.
We recommend leaving your device switched on, connected to it’s charger and connected to Wi-Fi for 24 hours to allow the enrollment processes to fully complete – during which time you can continue to use your device as you wish.
Note: if your device is running a “Home” version of Windows, it will be automatically updated to the “Education” version shortly after enrolling the device in Intune. This upgrade is free and is included as part of Oakhill College’s Microsoft Licensing agreement for students, and enables all the required features of Intune that aren’t available for devices running Windows Home versions.
You may be prompted to sign out/restart your computer once the update to Windows Education has completed.